VS Code
This page covers the core Pochi experience in VS Code, from installation and setup to the main chat and task management features.
Installation
Install the Pochi extension from the VS Code Marketplace or OpenVSX.
For the best experience, we recommend dragging the Pochi view to the right sidebar to use it side-by-side with your editor.
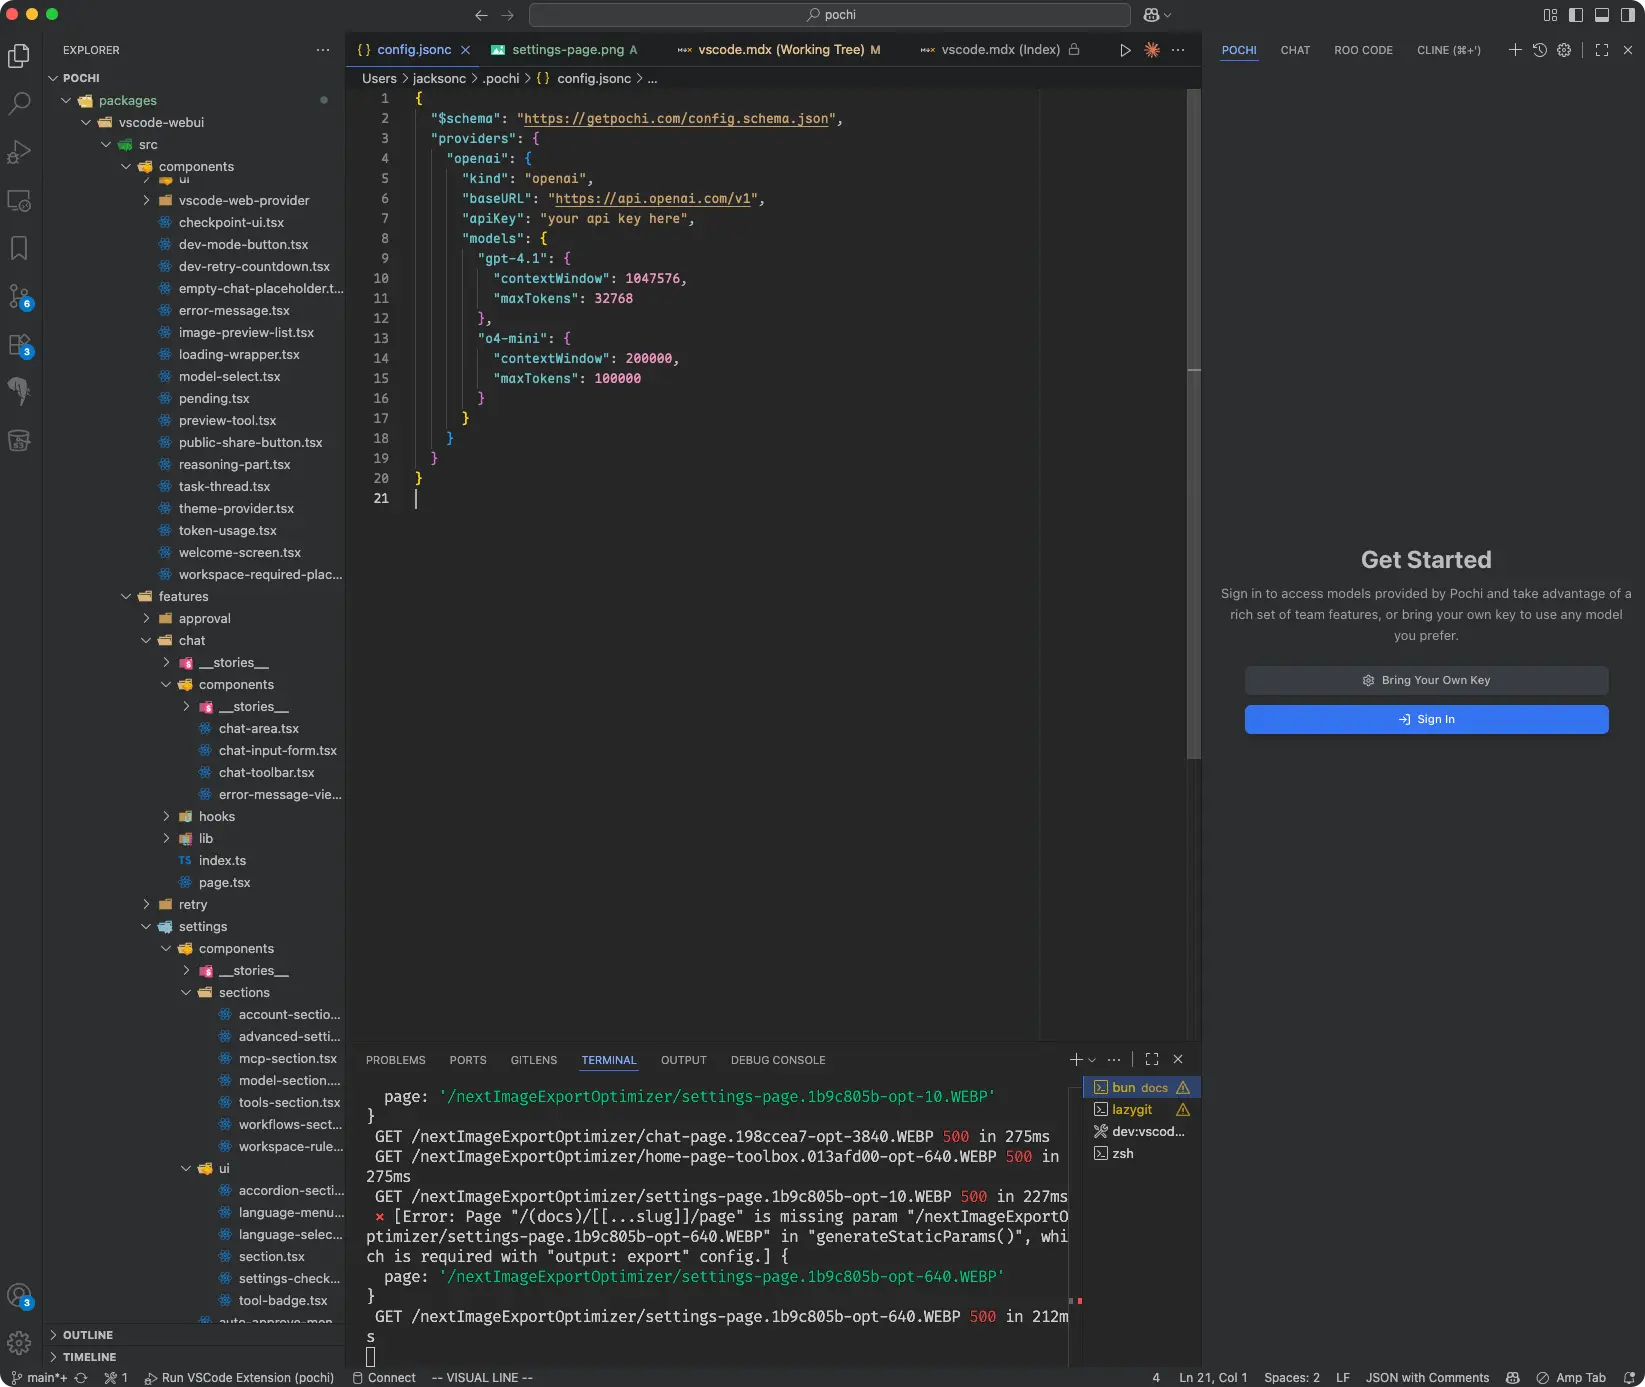
Welcome
Upon first launch, Pochi's Welcome page offers two ways to get started:
- Sign in to Pochi: Click "Sign In" and authorize in your browser to use Pochi subscriptions, models, and cloud features.
- Bring Your Own Key (BYOK): Use your own models by running
Pochi: Open Custom Model Settingsfrom the Command Palette. This opens~/.pochi/config.jsoncfor you to add API keys. See Models for details.
Chat
Access the Pochi chat panel via the Activity Bar icon or shortcut (macOS: Cmd+L, Win/Linux: Ctrl+L). This is your main interface for interacting with Pochi. Note: An active workspace (i.e., an open folder) is required to use the chat.
The panel's title bar includes actions for starting a new task and viewing all tasks.
Prompting
The input box, located below the chat history, is where you'll compose your messages and control the chat.
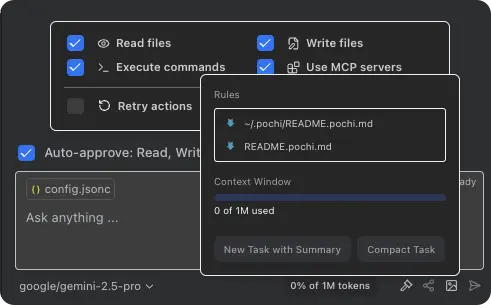
- Auto-Approve Menu: This menu at the top of the zone allows you to grant Pochi permission to use tools autonomously, streamlining the workflow.
- Todo List: When Pochi creates a to-do list for a task, it will appear here, allowing you to track progress.
- Chat Input: The main text area supports both text and image uploads. You can attach files by clicking the paperclip icon or by dragging and dropping them into the input area.
- Bottom Toolbar: The toolbar at the very bottom provides several key functions:
- Model Selector: Choose which language model you want to interact with.
- Token Usage & Compact Task: Monitor the token count of your conversation. If the conversation becomes long, a Compact Task button will appear, allowing you to condense the history and save tokens.
- Sharing: Share your chat session with others (requires a Pochi account).
- Submit/Stop Button: The send button dynamically transforms into a stop button during message generation, allowing you to interrupt the AI at any time.
Tasks
A chat session in Pochi is saved as a Task. You can view your entire task history from the task list page.
Some AI-powered actions might generate a Sub-task, which is a new, focused chat session dedicated to a specific part of the original task. When you're in a sub-task, you'll see a "Back" button to navigate to the parent task, allowing you to maintain context while breaking down complex problems. By default sub-tasks are hidden in the task list.
By default, task history is stored locally. Signing in to a Pochi account enables cloud storage for your tasks, along with sharing and team collaboration features. Be aware that clearing VS Code's extension data may erase your local task history.
Troubleshooting
Having issues? Here are a few things to check:
- No Active Workspace: Pochi requires an open folder to function correctly. Make sure you have a workspace open.
- Sign-in/Model Configuration: Verify that you are either signed in to your Pochi account or have a valid API key configured in your
~/.pochi/config.jsonc.
For more help, check the full Troubleshooting page or join our community on Discord.