Connect to Tabby Server for Enhanced Enterprise Experience
This tutorial will guide you through the process of connecting Pochi to your self-hosted Tabby server. By connecting Pochi to your self-hosted Tabby server, you can take advantage of several benefits, including centralized account management, self-hosted tracking, and the ability to use your own custom models.
Prerequisites
Before you start, make sure you have a running Tabby server instance. If you don't have one, you can follow the instructions on the Tabby website to set one up.
Configuration
Pochi uses a configuration file to connect to different model providers. To connect to Tabby, you'll need to add a new provider configuration to your ~/.pochi/config.json file.
Here's a sample configuration for connecting to a Tabby server:
{
    "kind": "openai",
    "id": "tabby",
    "baseURL": "https://demo.tabbyml.com/v1",
    "apiKey": "YOUR_AUTH_TOKEN",
    "models": [
        {
            "id": "default",
            // This flag is important for Tabby to work properly with Pochi
            "useToolCallMiddleware": true
        }
    ]
}
Parameters
You'll need to change the following parameters in the configuration:
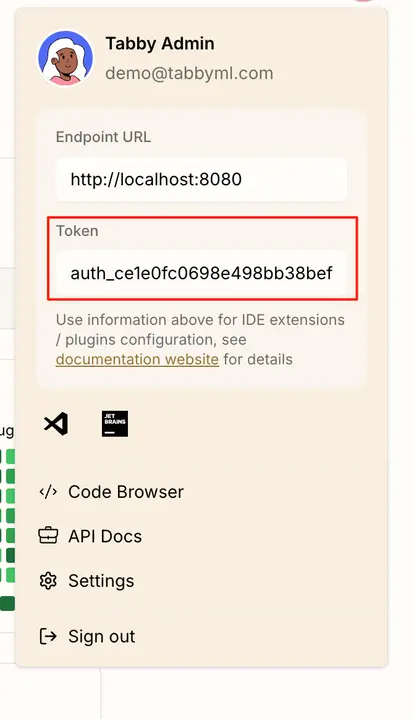
baseURL: Change this to the URL of your Tabby server instance.apiKey: Change this to your own auth token from the Tabby UI. You can find your token in the "Token" section of the Tabby admin panel, as shown in the screenshot below.
Conclusion
Once you have updated the configuration file, Pochi will be able to connect to your Tabby server and use the models you have configured.